Adding Events in Union Hall
With events you can make an events calendar with all your local's activities. Upcoming events will also appear on the right sidebar below the feature section as your members visit the website's homepage.
Adding an EventWhen you are on the home page, the easiest way to create an event is to click on the “+Create” button in the bottom right corner, circled below in red:

When you click on that button, a menu will appear. Click the “Create Event” option:

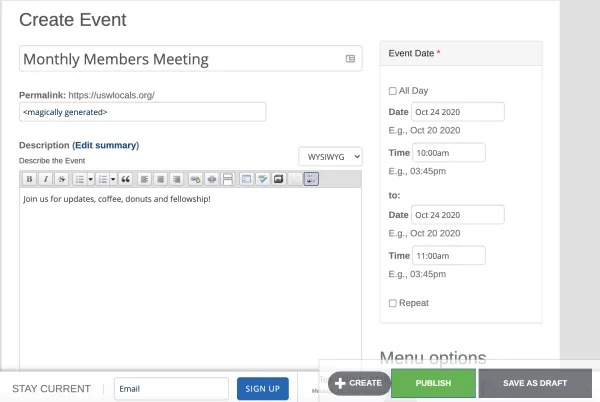
This will take you to the event set up page, where you will infill the title, description, event date and time, and location. You can also add media (image or video) and have the event repeat, if you like.
When you are done, click the green publish button in the bottom right:
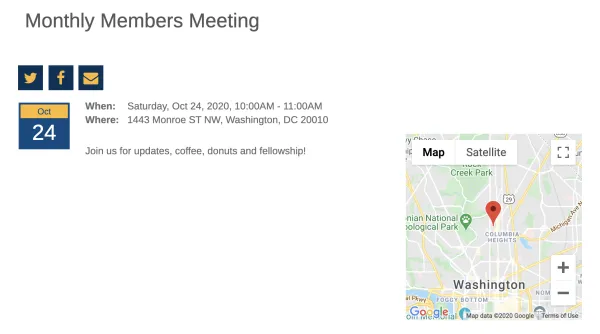
This will create an event page like this, with buttons that users can use to share the event on Twitter, Facebook, or Email:
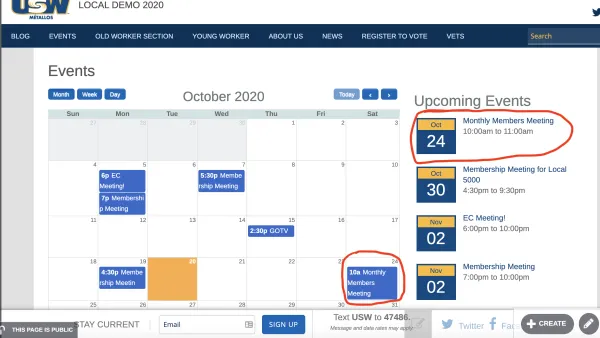
The event will also automatically show up on the Events page in the calendar and among “Upcoming Events.”
In order to edit an event, you will first want to navigate to the events page. Click on the “Events” tab on the navigation bar:
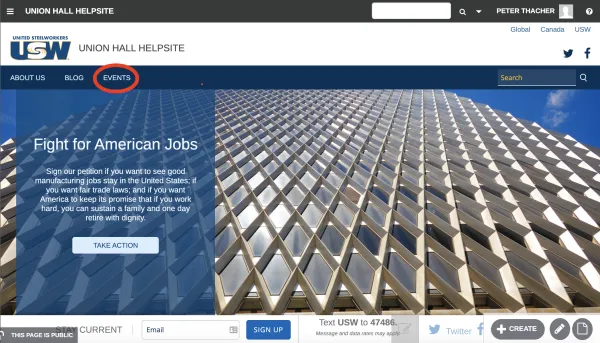
Once you are on the events page, click the event that you are interested in editing from the calendar or the “Upcoming Events” list. This will take you to the page for that particular event.
Once you are there, click on the pencil button in the bottom right:
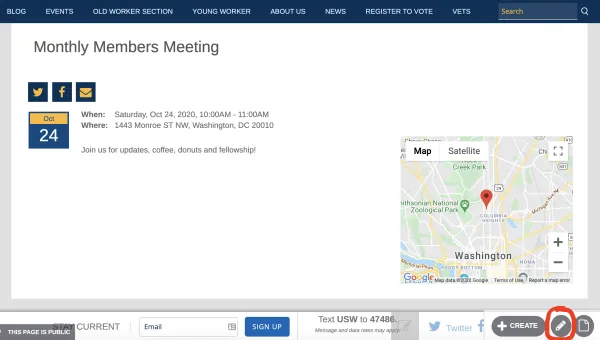
You will now be able to edit or delete the event. If you are editing, click the green “Save” button in the bottom right when finished. Click “Unpublish” if you are trying to take the event down.
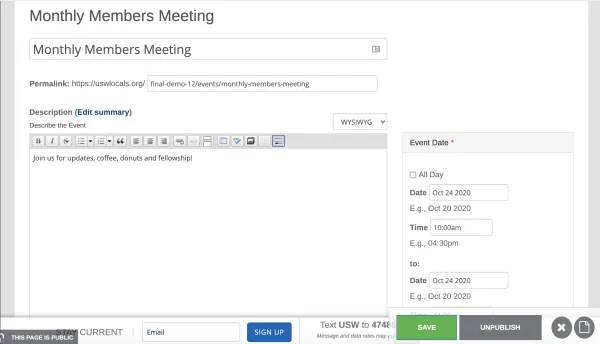
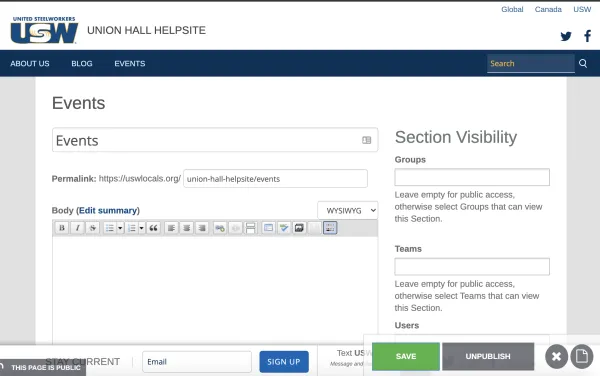
To make changes to the “Events” page on the site, first navigate to it. All Events pages will have calendars.
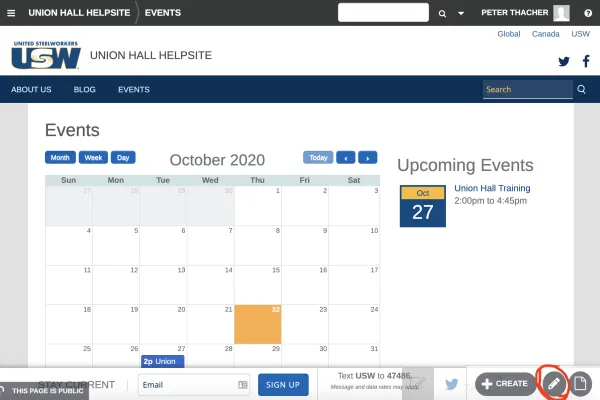
To edit the events page, click the pencil button in the bottom right hand corner, as you can see above.
On the edit page, you will able to add a page description above the calendar and edit the page title. Click the green “Save” button in the lower right hand corner to publish your changes.
