Adding Videos

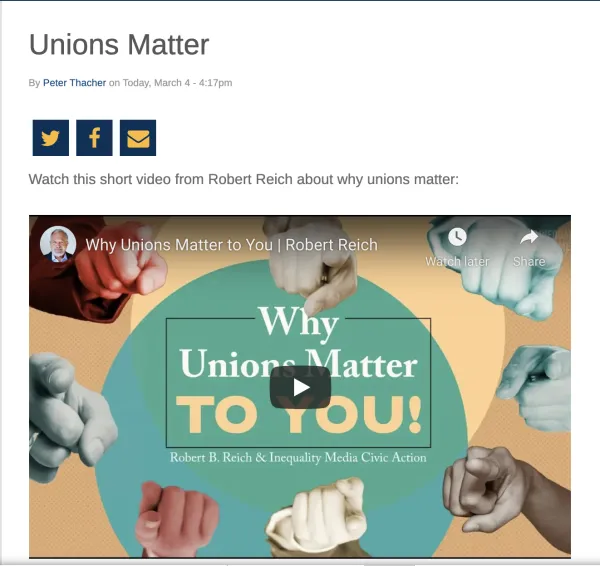
Video content is an increasingly important medium and Union Hall makes it easy to add videos to your site. The best way of doing so is to first upload a video to a 3rd party site such as Youtube or Facebook, and then embed that link like in the example below. We’ll show you how.
Adding a Video to a Blog Post
First, create an article to host your video by toggling over the “+CREATE” oval on the homepage and clicking “Create Article:”

For a full explanation of how to create an article see our Making a Blog Post guide. To add a video to a blog post, first click on the Media Browser button (symbolized by the picture icon below):
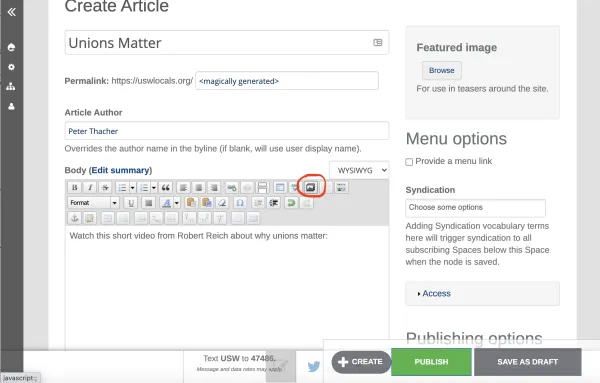
When the media browser window pops up, click on the web tab:

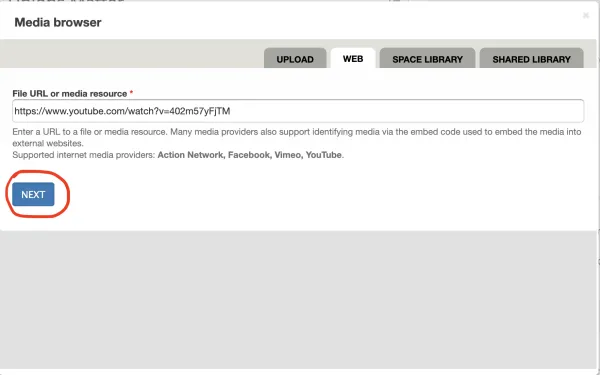
In the “File URL or media resource” space, paste a link to the video you want to add. This is the best way to add a video to your site in Union Hall. If your video is not already online, you can upload it to Facebook, Youtube or Vimeo.
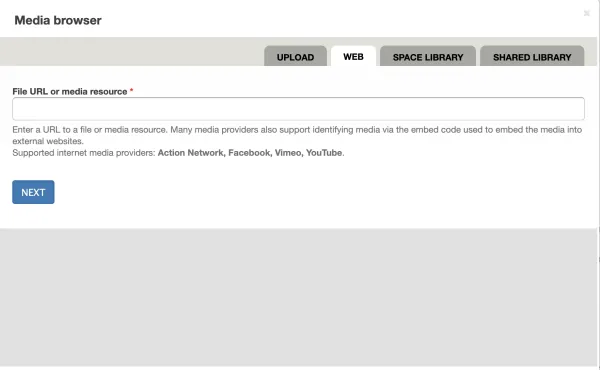
Once you have inserted the video link, click the “NEXT” button:
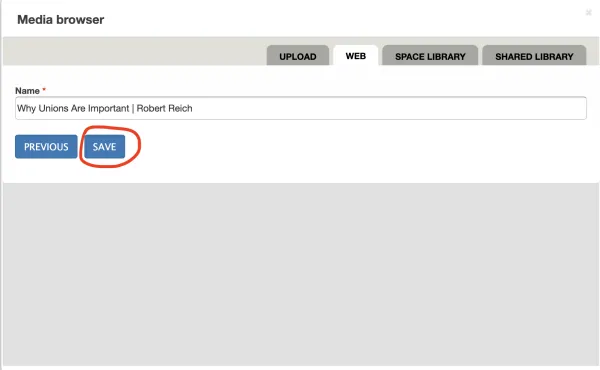
On the next page, you can choose a name for your video. By default the name of the video on the hosting site will populate, but you can edit the title here. When finished, click save:
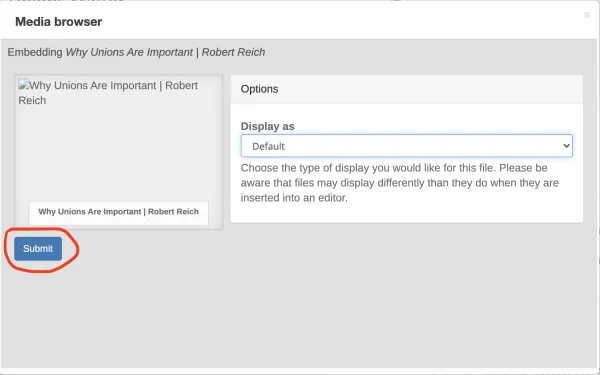
Finally, the Media browser will ask you to choose an option for how to display the video including Default, Teaser or Preview. The default option usually works well. When finished, click “Submit:”
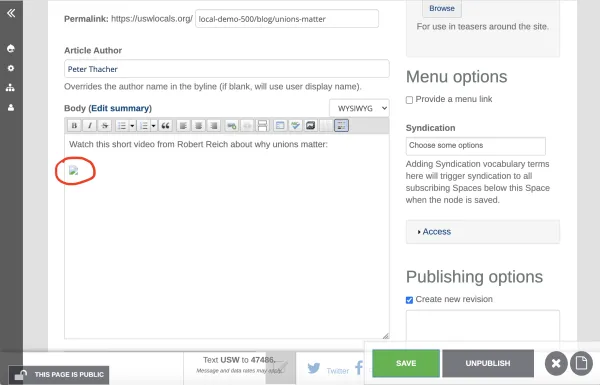
In the body of the blog post, an icon will appear where you have inserted the video. Click “SAVE” to finish.
Now your video will appear in the blog post like in the example below:
