Webforms

A webform is a page on your site that you use to collect information from the folks who visit your site. Examples include surveys, feedback forms, event RSVPs, or “Contact Us” forms like the one below:
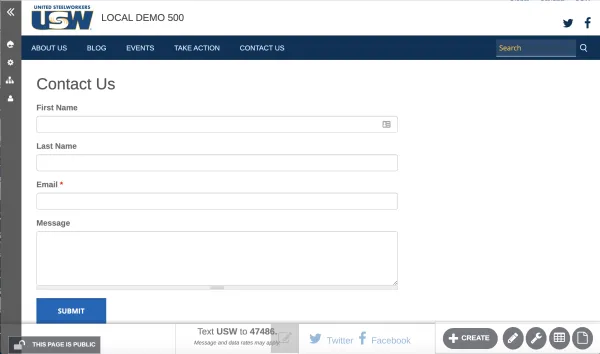
In this guide we will go over how to make a simple webform and how to access the information collected.
Adding a Webform
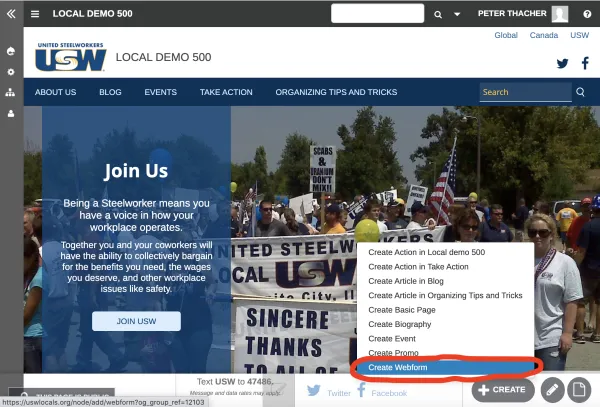
The first step in adding a webform to your site is to toggle over the “+CREATE” button and click on “Create Webform.”
After doing so, you will be taken to a Create Webform page where you can choose the title of the form, its URL and if you want to add a link to the menu/navigation bar. To include a link on the menu bar, click the checkbox highlighted below.

Once you have finished, click on the green “Start Building” button at bottom. This will take you to the form builder page.
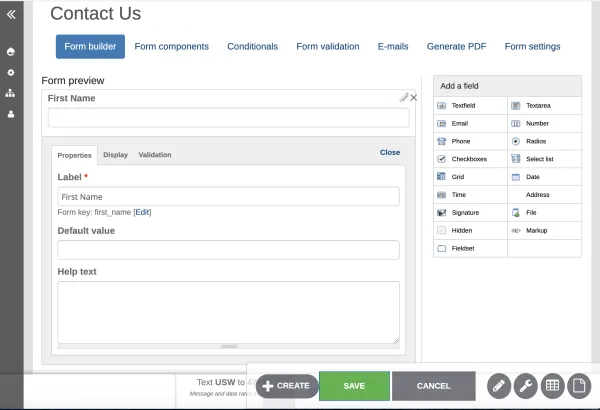
This is where you can add fields for people to fill in their information, buttons, checkboxes, and more. A few common ones are:
- Textfield-a small textbox typically used for names
- Textarea-a larger textbox used for people to submit larger amounts of information
- Email-a specific textbox for users to fill in their email addresses
- Radios-for users to answer questions by clicking one button from a list of answers
- Checkboxes-for users to answer questions from a list of answers where they may click multiple buttons
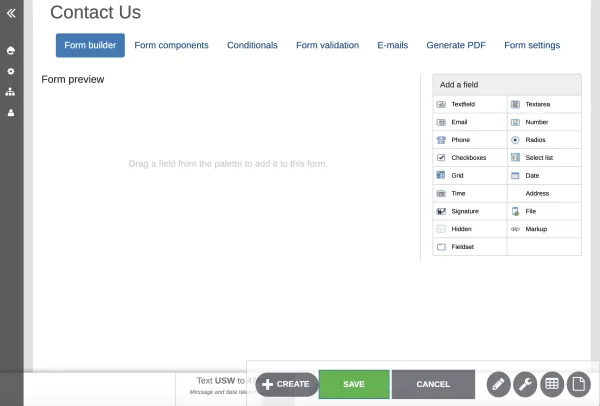
To add a field to the form, click on it and hold down your mouse button. Then drag it to the center of your form. After doing so, you can fill in the label and information you want to include on the form:
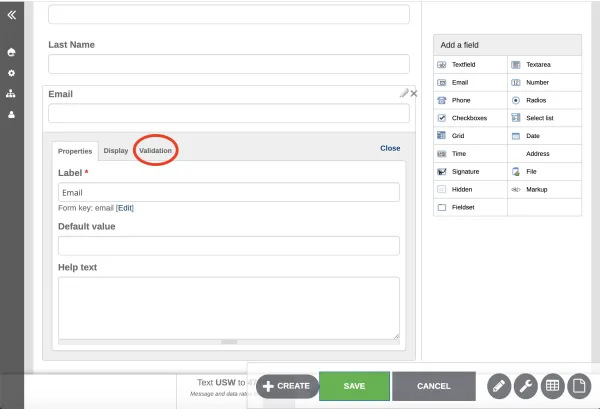
If you want to make a field required for users, click on the “Validation” tab of the field settings:
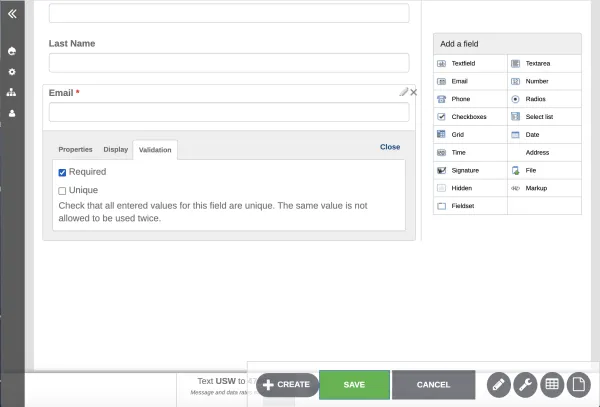
Here you can make a field required, such as the field below for users’ email addresses:
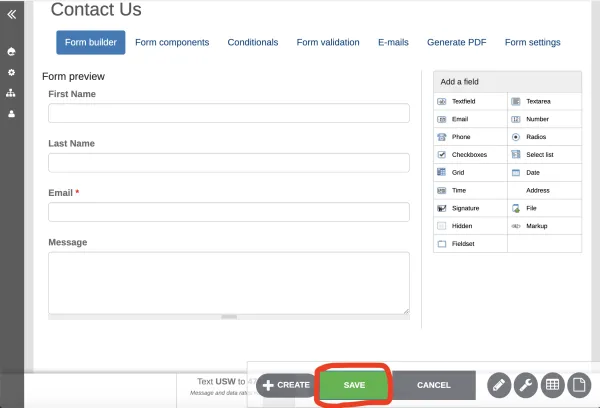
Once you have added the fields you want to the form, click on the green “SAVE” button at bottom:
Now the form is published! If you provided a menu link, the title will also be added to the menu bar:
Collecting and Viewing Submissions
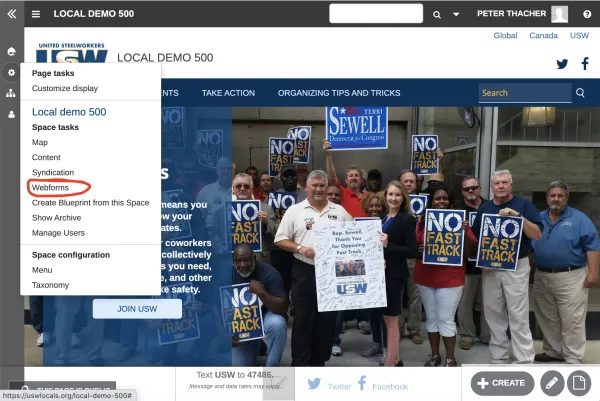
To view the submissions to your webform, first toggle over the cogwheel on the sidebar at left. Click “Webforms” from the options on the menu:

On the next page, there will be a list of the webforms on your site. To access the submissions for a particular webform, click “Submissions” under the View tab:
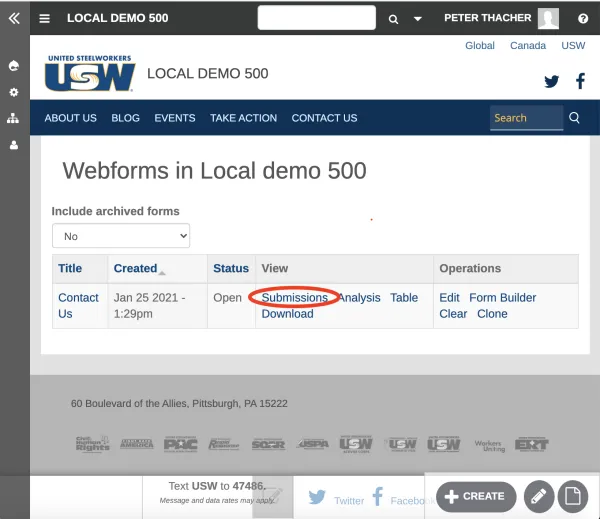
Here you will see a list of submissions. To download the submissions as an excel spreadsheet or delimited text file, click the “Download” button.
Setting Up an Email Alert
If you would like to receive an email every time an entry is submitted to your webform, there’s an easy way to do so!
First, toggle over the cog wheel in the left sidebar and click “Webforms:”
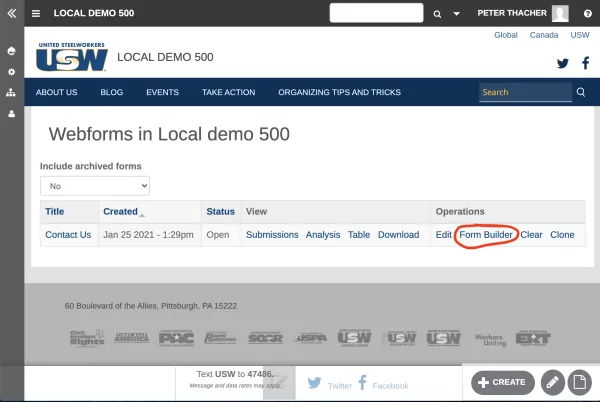
Next, click on the “Form Builder” link for the webform that you want to receive email alerts from.
Then click on the “E-mails” tab on the Form Builder menu:
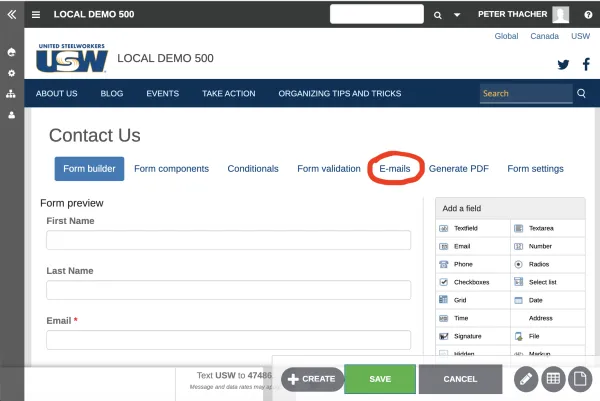
To set up an alert for new submissions at your email address, type your email address in the “Address” space highlighted below. Then click the “ADD” button.

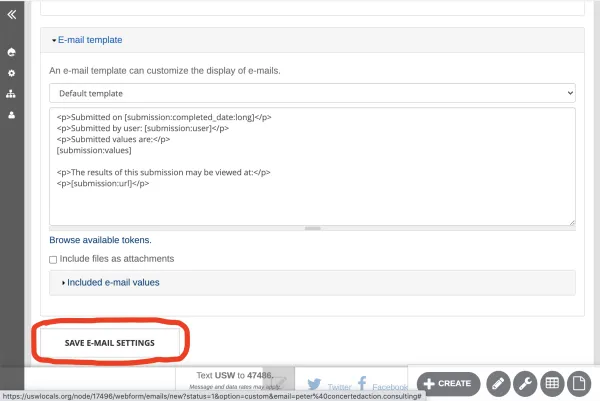
On the following page are the settings for the email confirmation. Here you can change the email subject line, template, name and the email address from which the alert will be sent if you like.
If you are okay with the default settings, scroll down to the bottom and click “SAVE E-MAIL SETTINGS:”