Making a Blog Post
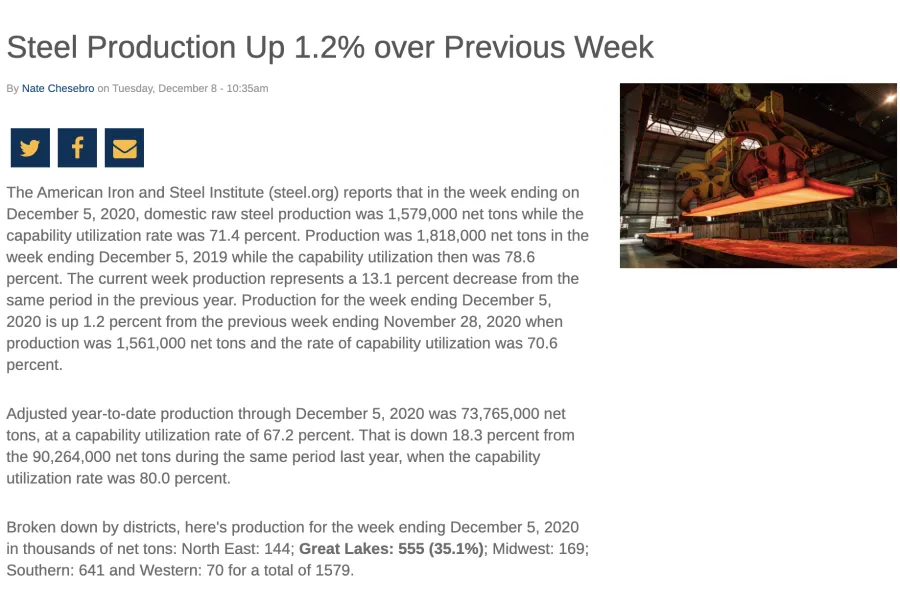
With articles you can publish blog posts about your union’s activities or whatever you like. Recently published articles will show up on the Union Hall homepage automatically under the “USW Blog feed” and under “Recent News” if you select them. The word blog gets thrown around and can mean different things to different people but all you need to know about the Union Hall blog section is that it’s a page for you to add subpages, (called articles) and the best location to host new content on your site.
For example, below is a recent blog post by District 1 Local 5000:
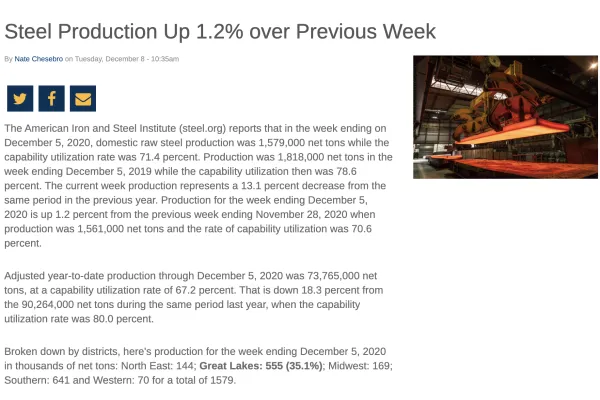
Creating an Article
The easiest way to create an article in Union Hall is to first click on the “Blog” section on the navigation bar:
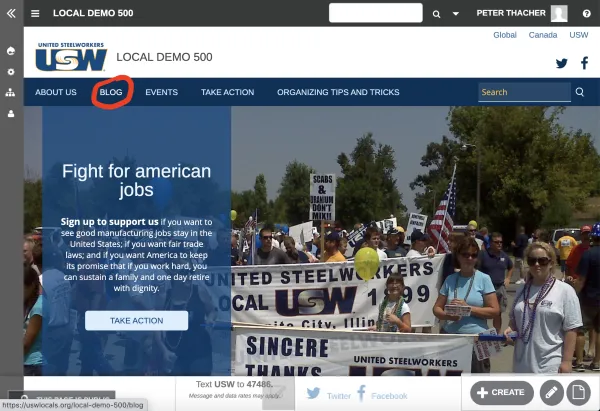
If your site already has articles on it, the most recent ones will pop up at the top. These most recent 3 up top are called featured articles, older ones will float below them.
To create a new article, toggle over or click on the “Create” button in the bottom right:
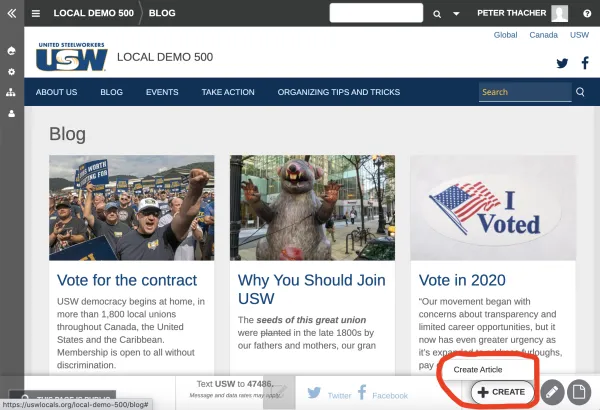
As you can see above, the only option that will appear is to “Create Article.” Click this option, and you will be taken to a new page to write your article:
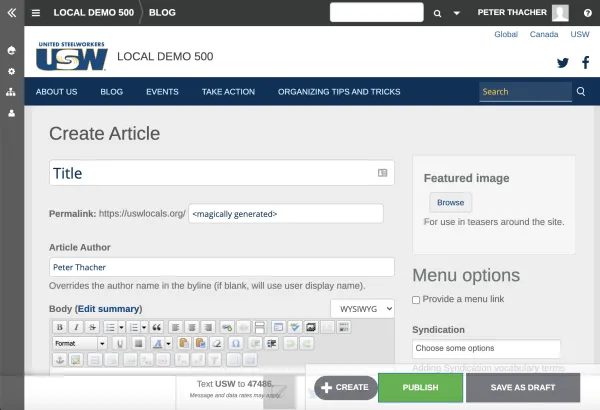
Here is where you will make the article. Up top, there are spaces for you to write the article’s title, a place to customize the URL if you like, and the author. A URL for the article will be generated automatically if you do not change it, and your name will also appear as the author unless changed.
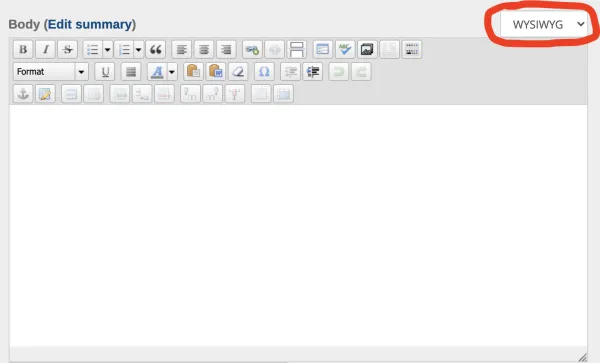
Below these is the body of your article. The text is written in a WYSIWYG format, this is an acronym for “What You See Is What You Get,” no coding knowledge required:
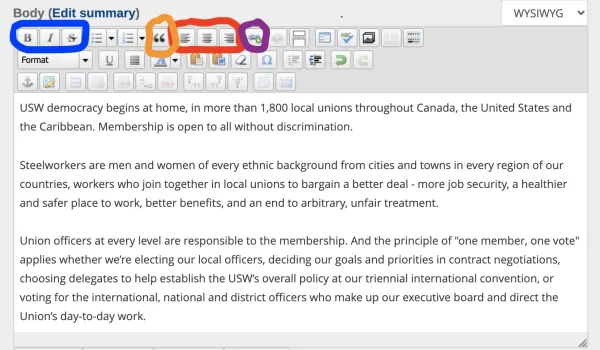
- Change your text into bold, italics or strikethrough circled in blue
- To change the alignment to left, center, or right circled in red
- To add a hyperlink circled in purple
- To create a pull-out quote in orange
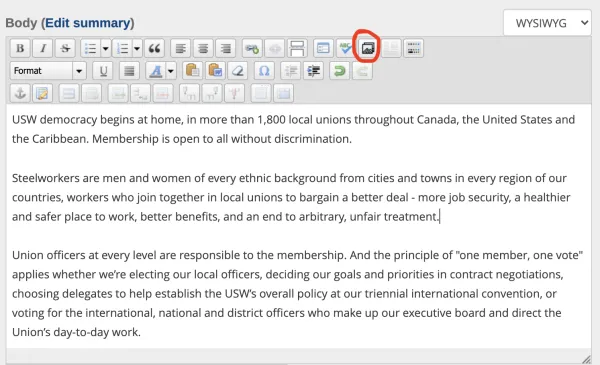
Two other important buttons relate to inserting text and images into the article. To add images or videos, click the button with the photograph icon on it:
After that, a window will appear. For now, I will show an example of adding an image by uploading it from my computer. To do this, click the “Choose File” button, and remember to choose a file smaller than 100 MB in size:
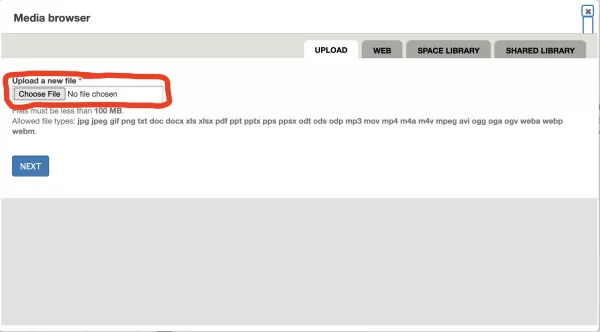
After uploading the image, click on the “Next” button. A new window will appear, where you will want to click on the “Crop” button to move forward:
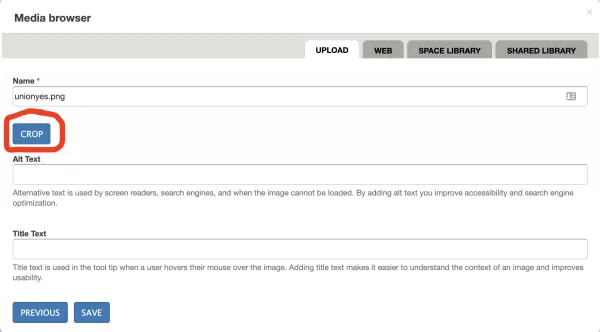
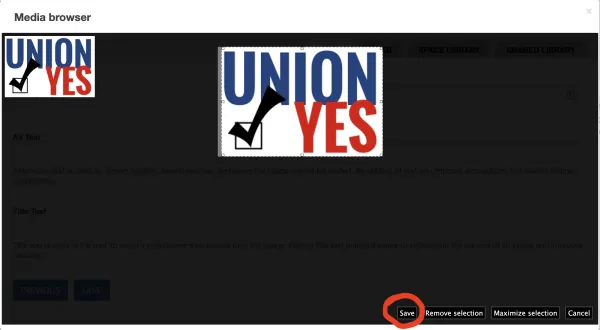
After you click on this, Union Hall will ask you to make crop or pare down the photo before moving forward. Click the save button at bottom when finished:
After this, you will be taken back to the original photo window, where you can add Alt Text or Title Text if you like. Alt Text is what shows up if your photo doesn’t load on a user’s computer or the text that is read by a content reader for the visually impaired. Click “Save” at bottom when finished:

Finally, Union Hall will ask you to “Submit” the image:
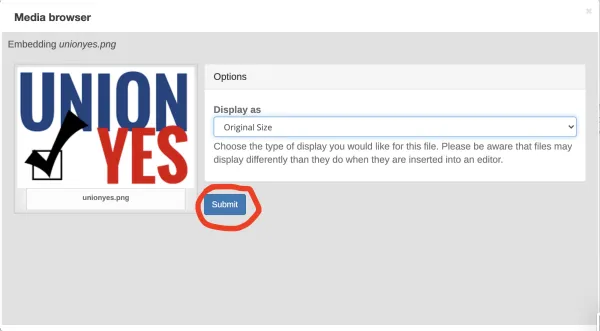
The image will then show up in the article:
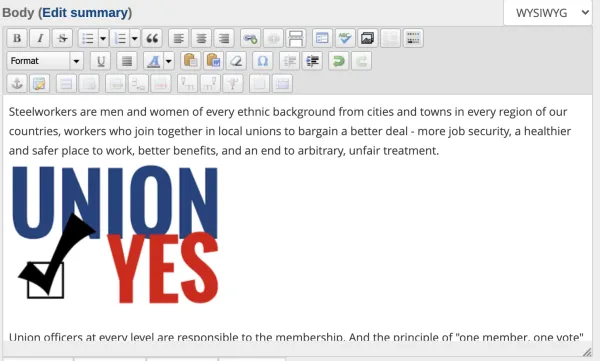
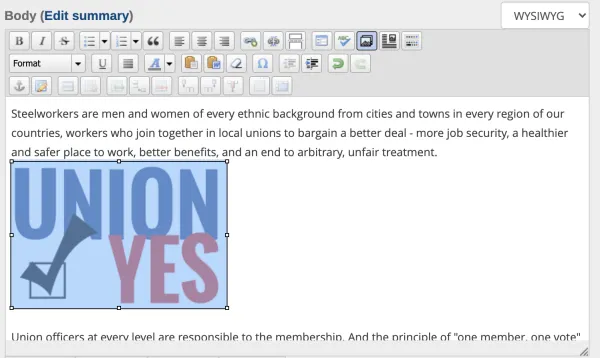
To wrap the text around your image, first select it. An icon will become live in the upper right, click that:
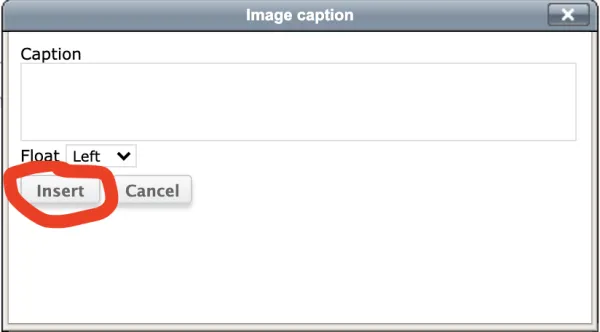
At the top, there’s an option to write a caption. Below that is an icon called “Float,” if you want to wrap your text you will want to click there where it says “none”:
After clicking on “None” a drop down menu will appear, where you can choose left or right:

After choosing how you want to wrap the text around your photo, click the “Insert” button at bottom:
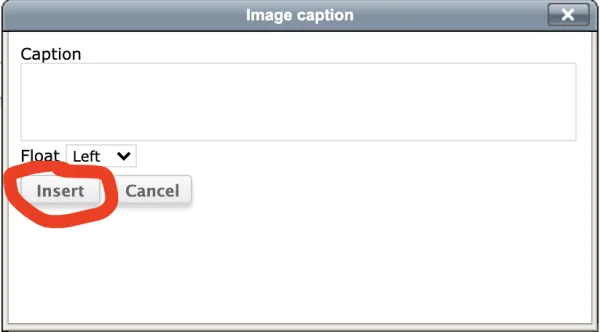
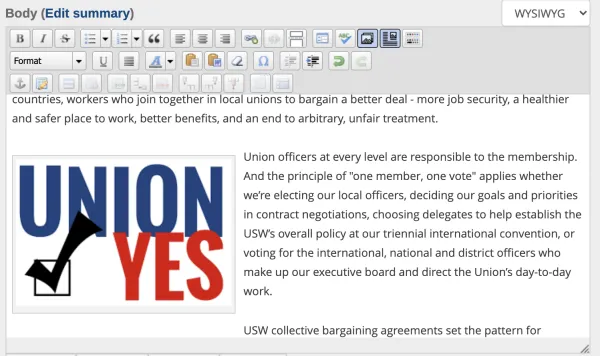
After that the photo will be aligned beautifully:
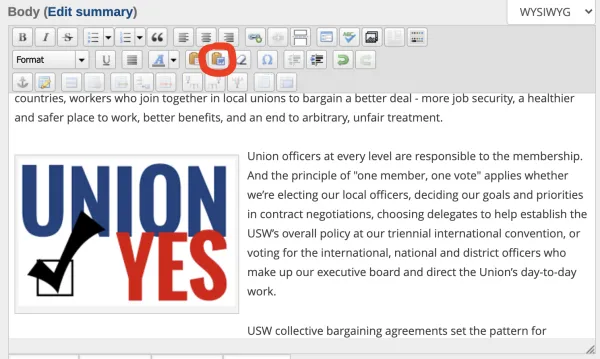
The other important input to understand is how to paste text from word. If you try to paste text from word simply it will often get messed up, so there is a clipboard word button to help you, circled below:
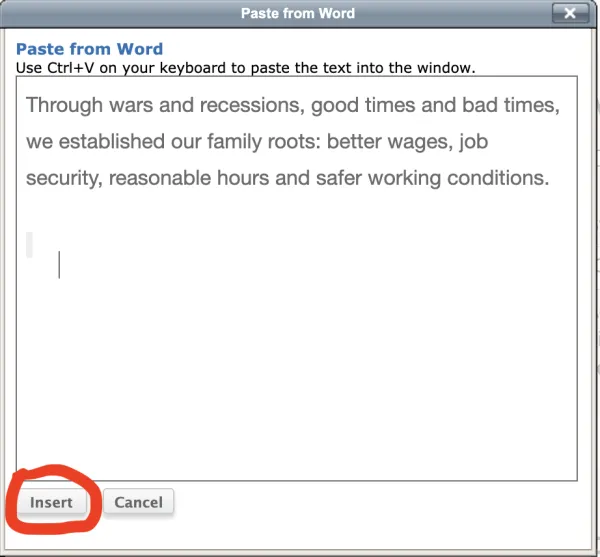
A new window will appear. Paste your text in the text box and click the “Insert” button at bottom.
Once you click Insert, the text will be pasted correctly into the article.
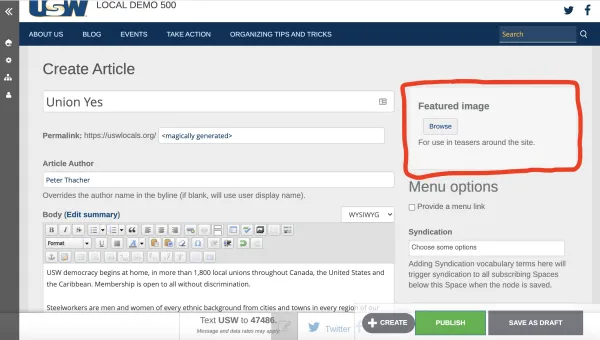
The last important piece about making an article is the “Featured Image,” in the top right corner of the article draft. This is the image that will show up at the top of the article, click the “Browse” button to add one:
Same as with adding media to the article text, a Media Browser window will appear. A couple of tabs are visible at the top:
- Upload-upload an image or video from your personal computer (must be less than 100MB)
- Web-choose an image from the internet using a URL
- Space Library-a disabled feature, don't worry about it
- Shared Library-choose from all the photos previously uploaded to your Union Hall site (for the Hero Image, other articles, etc)
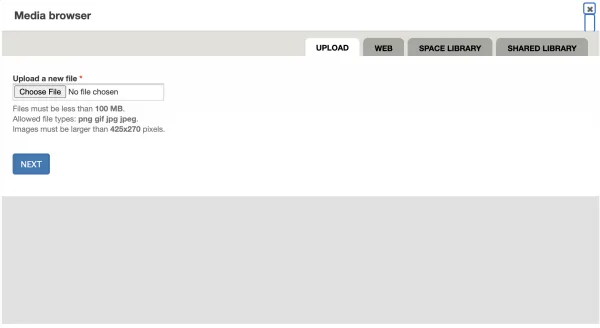
Uploading a featured image uses the same process as that of inserting an image into text. You will need to choose a file, crop the image, save it, and submit it. Scroll up to page 6 if you want a refresher!
Where Articles Will Appear
Articles will appear in two places on your website. The first is on the homepage, under the event description. By default, recent articles will automatically populate there:
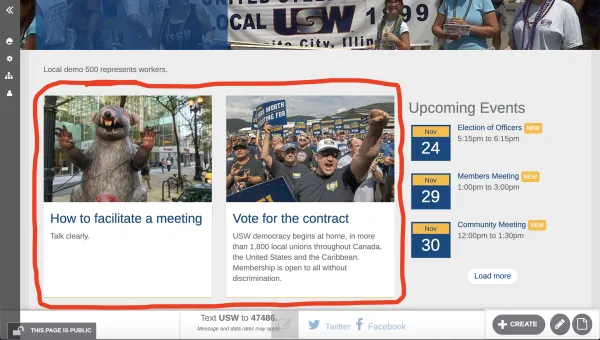
The other place they will appear is under the “Blog” section, which you can navigate to by clicking the button on the navigation bar:
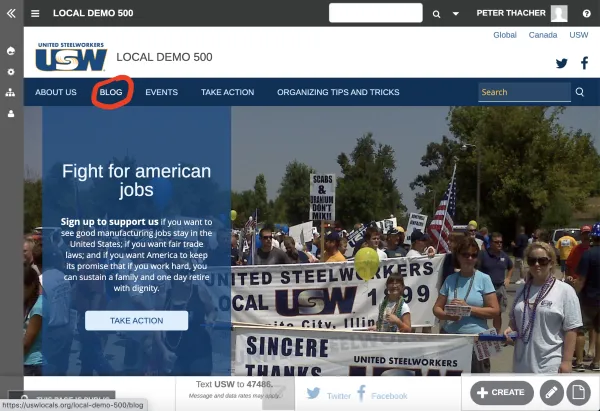
Once there, you will see the top 3 most recent blog posts featured up top with a photos and text previews:
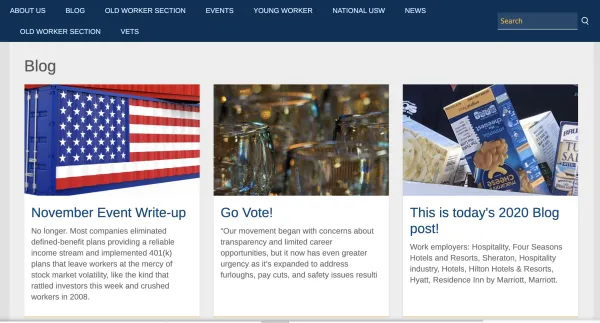
Scroll down to see the older articles.
