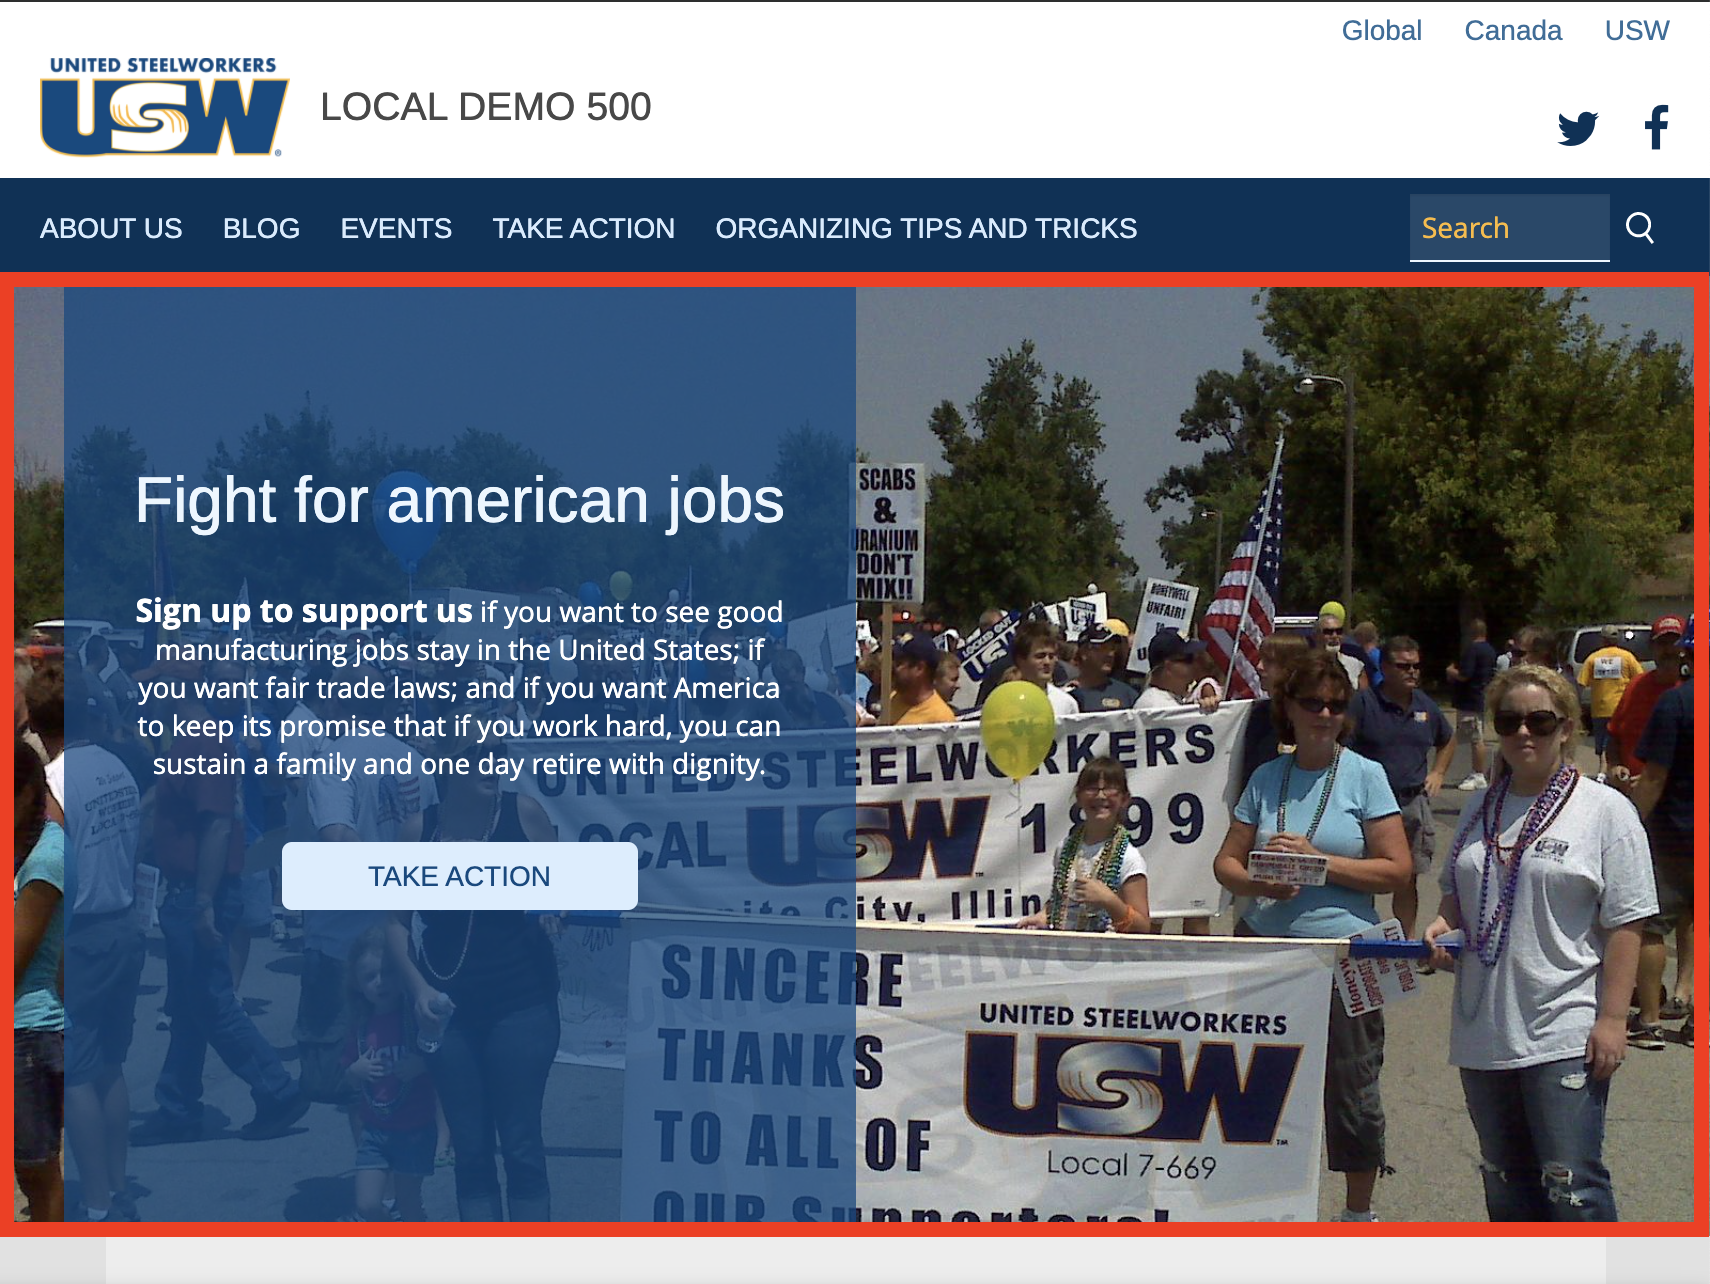
The hero image is the most prominent image on your site, being hosted on the homepage below the navigation bar. You will want to choose your photo wisely, as this is probably the most important aspect of the site in making a good first impression on users. For more information on the action displayed on the hero image, visit Adding Actions In Union Hall.
What is the Hero Image?
The hero image is the image displayed below the navigation bar on the site homepage. By default an action button and text will be overlaid on part of the image.These are called the Hero Button and Hero Text, respectively:
How can I change the Hero Image?
Changing the Hero Image isn’t difficult, but you will need to be mindful of the specifications for the image you choose. First, you will need to navigate to the homepage and click on the edit pencil:
The “Save” and “Unpublish” buttons will then appear in the bottom right. Scroll down on the page until you see the “Branding” button:
Click on the branding button and a drop down section will appear where you can edit the logo and the banner. It’s under the banner section that you can edit the Hero Image, Hero Text and Hero Button:
Under the Hero Image heading is the image with its name overlaid. In order to change the image, first you will need to click the “REMOVE” button. This will remove the existing hero image, and allow you to upload another in its place:
A new button “Browse” will appear, click this to upload a new image. If you do not your site will be without a hero image. 
A new “Media browser” window will appear. Hero images have specific dimensions so it’s probably best if you upload a new image from your computer. It’s very important that you choose an image that is 1600px wide and 745px high, or is bigger than that and can be cropped down cleanly. Click the “Choose file” button to upload your image:
After uploading your image, click the blue “Next” button. This will take you to a page where you can name your image, crop it, and add alt text. First click the “Crop” button. Cropping uploaded images in Union Hall is required:
This will take you to a simple crop editor. To crop the image, select the part of the image you want displayed. Be mindful of the dimensions for the hero image (1600px x 745px) if you change its size, and also that the hero text will cover the middle-left part of the image. If you are satisfied with the image’s existing size, just click the “Save” button at bottom:
Once that’s finished you can change the image’s name or add alt-text. The “Name” text is for internal purposes only, this is what your image will be labeled in the site’s space library. The “Alt Text” is the text that will show up if your image doesn’t load on a user’s computer or the text that will be read by a screen reader for the visually impaired.
When you are finished filling in these text boxes, click the “Save” button at bottom:
This will close the Media Browser window and take you back to the Homepage editor. To save the new hero image, click the green “SAVE” button at bottom:
How can I change the Hero Text and Hero Button?
Once you know how to change the Hero Image, changing the Hero Text and Hero Button will seem easy! In the photo below, the text “Fight for american jobs” and the following paragraph are the Hero Text, “Take Action” is the Hero Button.
Again, you will want to begin by navigating to the Homepage and clicking on the edit pencil:
After clicking that button, scroll down on the page. To edit the “Take Action” Hero Button and Hero Text you will want to click on the branding link:
Scroll down a bit and the Hero Text (circled in red below) and Hero Button (circled in orange) will be under the “Banner” drop down tab:
It’s here that you can edit the Hero Text, and that of your Hero Button and the URL it links to. To save changes, click the green save button.
You can use any link URL for the homepage feature section, it doesn’t have to be about your local’s work specifically. For more information on actions, visit Adding Actions In Union Hall.

